
A soil moisture sensor only knows about the handful of soil it touches. Put it in the one sandy pocket in the block and it will call for water every other day. Put it in the low corner where the clay holds on and it will tell you everything is fine while the rest of the trees go thirsty. Either way, the sensor is working perfectly. It is just answering the wrong question.
That is why extension researchers keep saying the same thing in different words: how you install a sensor matters more than which sensor you buy. The Vineyard Team’s guide puts it plainly: installation “is likely more important than the type of sensor chosen.”
Fall is a good time to get this right. After harvest, before winter rain, you can dig, look at the profile, and move or reinstall stations without working around a full irrigation schedule. Here is how to pick the spot, the distance from the emitter, and the depths.
Quick Takeaways
- Pick the average, not the extreme. Install where soil, slope, drainage, and plant vigor look like most of the block. Skip swales, borders, sand pockets, and weak or unusually vigorous trees and vines.
- Stay in the wetting pattern. Under drip, UF/IFAS recommends within 8 inches of the dripper, with about 6 inches as a practical target. Vineyard growers often go 4 to 6 inches.
- Use more than one depth. At least two sensors per site, with a deeper one near the bottom of the root zone to show water moving past the roots.
- No air gaps. Poor soil contact was the cause of the false-stress and false-wet readings in Alabama Extension’s field examples.
Step 1: Choose a spot that represents the block
Most growers can afford one or two sensor sites per irrigation block, not ten. The Vineyard Team’s guide notes that cost of sensors and telemetry is usually the limit, which is why “it is most common for growers to install moisture sensors in only one or two sites within an irrigation block.” With that few readings, the site has to stand in for everything around it.
Start with what you already know. The free USDA NRCS Web Soil Survey shows the soil series in a field, and both Alabama Extension and the Vineyard Team recommend it as a starting point. Vigor maps, yield maps, and your own memory of where trees struggle fill in the rest. Then confirm it with a shovel or auger. In the Vineyard Team’s example, cores from the same 8-acre block ranged from clay four feet deep in a swale to a sharp clay-to-loam transition on the hilltop, and the sensor went where the most common profile showed up.
Places to avoid, drawn from the Vineyard Team and Alabama Extension guides:
- Swales, waterways, and the path of surface runoff
- Block edges and areas next to competing vegetation
- Spots that drain worse, or hold water longer, than most of the block
- Sand pockets, hardpan, or soil that is deeper or shallower than normal
- Old backhoe pits, pulled-tree holes, or other disturbed soil
- Trees or vines that are weak, unusually vigorous, or a different age or rootstock
- Areas that get noticeably more or less water than the rest (low distribution uniformity)
- Under center pivots, the first and last spans and access roads
One honest exception: some growers deliberately place a sensor on the high, fast-drying ground so it triggers first. Alabama Extension notes this happens, and that those spots “do not always represent the average field conditions.” If you do it, know that you are scheduling the whole block to its driest corner.
If a block has two very different soils, that is two management zones. Alabama Extension recommends more than one sensor when within-field variability is significant, placed by zones with uniform soil water storage.
Step 2: Get the distance from the emitter right
Under drip, water moves in a bulb below each emitter. A sensor outside that bulb reads soil the system never wets, and UF/IFAS warns it “could underestimate the amount of soil water available for the trees,” which pushes you toward over-irrigating.
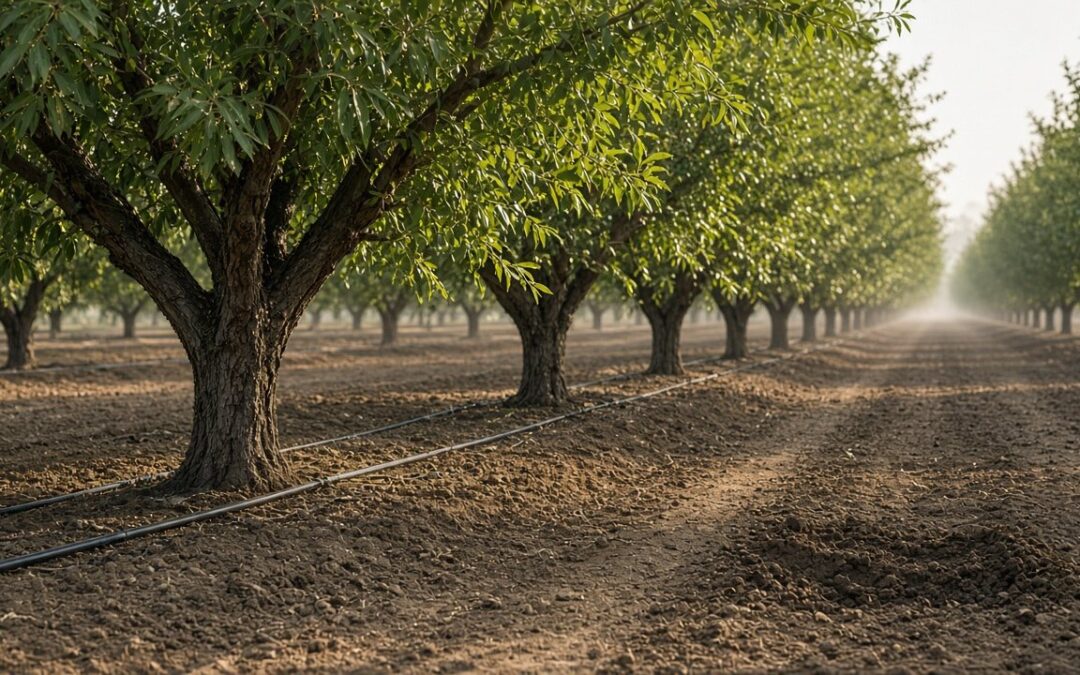
- Drip in orchards: UF/IFAS recommends placing the sensor within 8 inches of the dripper, and suggests about 6 inches as a practical location once you account for main roots, rocks, and the sensor’s sensing volume. Keep it no more than about a foot outside the canopy edge.
- Drip in vineyards: The Vineyard Team says most growers err toward 4 to 6 inches from the emitter to avoid over-watering, with sensors commonly within 18 inches of the trunk and in line with the trellis and drip wire, which keeps them out of the way of equipment. Some trial and error is normal in a new soil.
- Microsprinklers: The wetted area is wider, so UF/IFAS says the location is driven mostly by root depth and system uniformity. Aim for soil close to both the main roots and the microsprinkler.
- Row crops: Alabama Extension installs between two healthy plants within the crop row.
Step 3: Choose depths that match the roots
One sensor at one depth tells you the top is wet or dry. It cannot tell you whether a set reached the roots or blew past them. That is why every guide here recommends multiple depths.
- At least two per site. UF/IFAS recommends a minimum of two sensors per location, and at least one per soil layer when the root zone has more than one layer.
- Do not go too shallow. The Vineyard Team recommends the shallowest sensor be no less than 8 inches deep, because water content near the surface swings too much to be useful. For Florida fruit trees, UF/IFAS sets the minimum at 3 inches below the surface.
- Follow the soil, not a ruler. In the Vineyard Team example, depths were picked at changes in texture: 12 inches in sandy clay loam, 24 inches in clay loam, and 40 inches in loam.
- Put one near the bottom of the root zone. That deep reading shows when water is moving below the roots, which is wasted water and leached nutrients.
- Annual crops shift with the season. Alabama Extension, citing Mississippi State, says sensors should cover about one-third of the root zone early in the season and at least two-thirds at peak water use.
If you use a multi-depth probe, the Vineyard Team says the key decision is total probe length. Make sure it reaches the depth you want and that the soil is deep enough to insert it fully.
Step 4: Install it so the soil touches the sensor
This is where most bad data starts. Alabama Extension’s field comparisons show what poor contact looks like. In one field, tension sensors with air gaps responded only to a 4-inch rain and showed false crop stress most of the season. In another, a capacitance probe with gaps at 4 and 8 inches made the crop look well-watered while the plants were visibly stressed.
Good practice from the same guides:
- Dig the smallest hole that works. Alabama Extension says to make the hole only slightly bigger than the sensor, because an oversize hole leaves air gaps.
- Use a slurry where the sensor calls for it. For tension and capacitance probes, Alabama Extension mixes soil from the hole with water into a slurry, pours it in, then pushes the probe through so excess slurry comes up around it.
- Prep the sensor. Some tension-type sensors must soak in water for 24 hours before installation. Check the manufacturer’s instructions.
- Check the hole for rocks and big roots. UF/IFAS notes that objects inside a sensor’s sensing volume make readings read lower than actual soil moisture.
- Seal the top. Close the surface so water does not run straight down the hole, and backfill and tamp any observation hole you dug nearby.
- Protect the cable. UF/IFAS suggests burying cables at least 2 inches deep and running them in flexible hose or conduit across swales, furrows, and beds.
Step 5: Check the first week of data
A good install looks alive. UF/IFAS suggests installing after rain or in well-watered soil and watching the trend for a week. Alabama Extension describes the healthy pattern: readings dry down day by day as the crop uses water, then jump after irrigation or rain, with the shallow depths moving more than the deep one.
Red flags:
- No response to an irrigation set that you know ran. Check the install, then check the system. A low pressure checklist rules out the line before you blame the sensor.
- Readings that only move after a big storm. That was the air-gap signature in Alabama’s example.
- Sensor data that disagrees with the plants. Alabama Extension is clear that sensors do not replace walking the block and checking the crop.
When the data looks wrong, reinstall rather than adjust your trigger to fit a bad reading. Once the readings are trustworthy, our post on soil tension irrigation scheduling covers what the numbers mean and when to water.
Questions growers ask
How deep should soil moisture sensors be installed? Match the root zone and the soil layers. A common setup is one sensor in the active root zone and one near its bottom. The Vineyard Team recommends no shallower than 8 inches in vineyards, and gives an example at 12, 24, and 40 inches.
How far from a drip emitter should a soil moisture sensor go? Inside the wetting pattern. UF/IFAS recommends within 8 inches, with about 6 inches as a practical spot. Many vineyard growers use 4 to 6 inches.
How many soil moisture sensors do I need per field? At least one multi-depth site per irrigation block or management zone. Add sites where soil, slope, drainage, or plant age change enough to manage separately.
Should soil moisture sensors be installed vertically or horizontally? Either can work. UF/IFAS notes vertical sensors respond to a wetting front a little sooner, and both settle to similar readings. Some growers install the shallow sensor vertically and the deep one horizontally.
Why are my soil moisture sensor readings wrong? Most often it is the install: air gaps, a rock or root in the sensing volume, or a spot that does not represent the block. Reinstall in a representative location with tight soil contact and watch a week of data.
How AgriLynk Helps
A well-placed sensor is only useful if someone looks at it at the right time. AgriLynk puts readings from supported sensors at multiple depths into one dashboard with history and email or SMS alerts, so you can see the dry-down, the jump after a set, and whether water reached the deep sensor without a drive to the block. The Monitor starter includes one field station, three soil tension sensors, and a pressure sensor, which is enough for a multi-depth site plus a line check. Additional soil moisture sensors can be added as expansion modules.
When the readings earn your trust, Control adds remote valve open and close, and Autonomous adds start and stop logic based on the soil moisture targets you set. Read how it works, see irrigation automation, or check pricing. Not sure where your first station should go? Tell us about your block or call (760) 723-1529.
Sources
- UF/IFAS Extension AE551: Common Questions When Using Soil Moisture Sensors for Citrus and Other Fruit Trees (Herrera, Guzmán, and Murcia)
- Alabama Cooperative Extension System ANR-2775: Installation of Soil Sensors for Irrigation Scheduling (Lena, Morata, and Ortiz, August 2021)
- Vineyard Team: Using Soil Moisture Sensors for Vineyard Irrigation Management (Westover and Beal)
- USDA NRCS Web Soil Survey